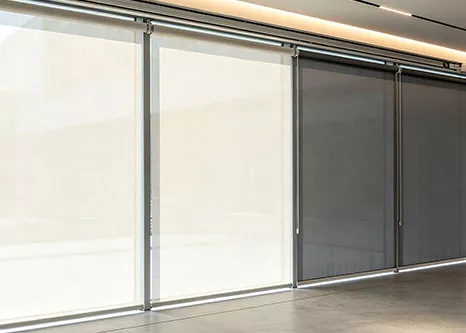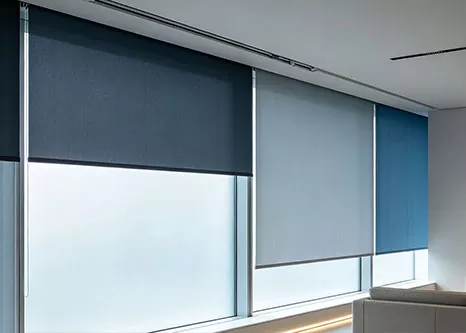
A roller shade needs more than a width and a drop to fit well. Its brackets, rolled fabric, and operating mechanism all require space, and the mounting surface must support the assembly. Planning these details before ordering helps connect the product choice with the conditions at the window.
Decide whether the shade will sit inside the recess or outside it. An inside mount depends on sufficient depth and clearance within the opening. An outside mount requires suitable fixing positions above or around the window. Examine the proposed locations before assuming the supplied brackets will fit.
Identify the material at each fixing point. Timber, masonry, plasterboard, and other surfaces may require different fasteners or support. Supplied screws are not automatically suitable for every surface. Follow the product instructions and seek qualified help when the substrate, concealed services, or fixing method is uncertain.
Check the dimensions of the brackets, tube, and any cassette or decorative cover. The rolled fabric occupies space near the top of the window, so consider whether it could interfere with an opening sash or nearby trim. Confirm the clearance requirements for the exact product you intend to buy.
Look at handles, locks, window sills, and objects along the shade's travel path. Ask how the specified overall width relates to the fabric width. Hardware normally occupies some of the assembly's width, which can leave side gaps that matter when you are planning privacy or light control.
For a manually operated shade, choose an operating side that is easy to reach without leaning across furniture. Check whether the control can be used comfortably when the window area is occupied. Where chains or cords are present, plan for the supplied safety devices and follow the installation instructions.
For a motorized shade, establish how it receives power and how that power source will remain accessible. Depending on the product, this could involve battery charging, battery replacement, or a wired connection. Confirm the arrangement before positioning furniture or finalizing the mounting location.
Read the installation guide before marking holes. Match the brackets and components to the correct window, and prepare the tools specified by the manufacturer. Clear the surrounding area and use stable access equipment. Check bracket alignment carefully, since uneven positioning can affect how the shade hangs and rolls.
After installation, raise and lower the shade through its intended travel. Look for rubbing, uneven rolling, loose fittings, or contact with window hardware. Complete any permitted adjustments according to the instructions, then show other users how to operate the shade. Keep the product guide available for future care and maintenance.